- A+
Introduction
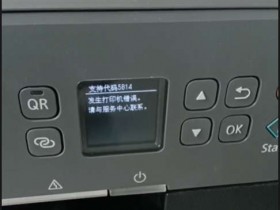
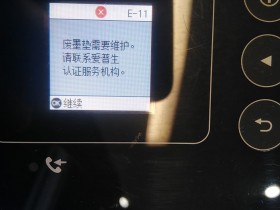
As the owner of a Canon G2580 printer, you may eventually need to replace the waste ink tank, also known as the waste ink pad. This component collects any excess ink that accumulates during the printing process. If the waste ink tank becomes full, it can affect the printer's performance and may even cause damage to the machine. In this article, we'll guide you through the process of replacing the waste ink tank in your Canon G2580 printer.
Step 1: Preparation
Before you begin, make sure you have all the necessary tools and supplies. You'll need a replacement waste ink tank, which you can purchase from Canon or a third-party supplier. You'll also need a pair of gloves and a container to catch any excess ink that may spill during the replacement process. Finally, make sure your printer is turned off and unplugged.
Step 2: Accessing the Waste Ink Tank
Once you have everything you need, you can begin the process of replacing the waste ink tank. First, locate the access panel on the back of the printer. This panel is typically found on the right side of the machine.
Remove the screws that hold the access panel in place and set them aside. Carefully remove the panel, making sure not to damage any of the internal components.
You should now be able to see the waste ink tank. It will be a rectangular-shaped device located near the bottom of the printer.
Step 3: Removing the Old Waste Ink Tank
Next, you'll need to remove the old waste ink tank from the printer. Before you begin, put on a pair of gloves to protect your hands from any ink that may spill during this process.
Once you have your gloves on, carefully remove the waste ink tank from the printer. This may require some gentle pulling or twisting to loosen it from its mount.
Once the waste ink tank is free, carefully lift it out of the printer and set it aside. Be sure to place it in a location where any excess ink can be contained and disposed of properly.
Step 4: Installing the New Waste Ink Tank
Now that you've removed the old waste ink tank, you can install the new one. Begin by carefully inserting the new tank into the location where the old one was removed from.
Ensure that it's properly seated, and then gently press it into place. You should hear a clicking sound when it's secure.
Replace the access panel and the screws that hold it in place.
Step 5: Test Your Printer
After you've installed the new waste ink tank, you can test your printer to ensure that it's working correctly. Plug your printer back in and turn it on.
Print a test page and check for any error messages or issues. If everything looks good, you're finished!
Conclusion
Replacing the waste ink tank in your Canon G2580 printer may seem overwhelming at first, but with the proper preparation and guidance, it's a straightforward process. By following the steps outlined in this article, you can keep your printer in good working condition and avoid any performance or damage issues caused by a full waste ink tank.