- A+
Resetting R230 Printer A Step-by-Step Guide
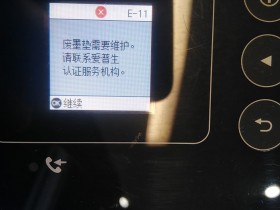
The R230 Printer is a popular printer model that provides high-quality photo prints to its users. However, after some time, the printer may encounter some printing issues, and resetting it may be necessary. Resetting the R230 Printer would resolve any printing issues and restore its default settings. This article would provide a step-by-step guide on how to reset the R230 Printer.
Step 1: Preparation
Firstly, ensure that the printer is turned off and unplugged from the power source. Also, make sure that all the cables are disconnected from the printer, including the one connecting it to the computer. Afterward, remove any paper or debris that is inside the printer.
Step 2: Press and hold the buttons
Press and hold the Resume button and the Power button simultaneously. Hold these buttons down for about five seconds, and then release them simultaneously. After releasing the buttons, the printer light would blink for a few seconds.
Step 3: Release the Resume button
After the light stops blinking, release the Resume button. However, keep holding the Power button until the printer light blinks twice. Once the printer's light blinks twice, release the Power button, and the printer will reset to its default settings.
Step 4: Restart the printer
Now that the printer has been reset to its default settings, plug in the printer to the power source and turn it on. Afterward, reconnect the printer to your computer or any other device you want to use it with.
Conclusion
Resetting the R230 Printer is quite easy, and it's an effective way of resolving any printing issues you may encounter with it. Following this step-by-step guide to reset your printer would ensure that it performs at its best. However, it's important to note that resetting the printer would erase any data or settings you might have configured before. Therefore, ensure that you backup any critical data or settings before resetting the printer.